Integration of Alma with MS Teams.
Integration of Alma with MS Teams.
Log in to the Azure Portal using your administrator credentials. Once logged in, create an application in Azure AD. This step will allow you to configure the necessary information to integrate the MS Teams data collector.
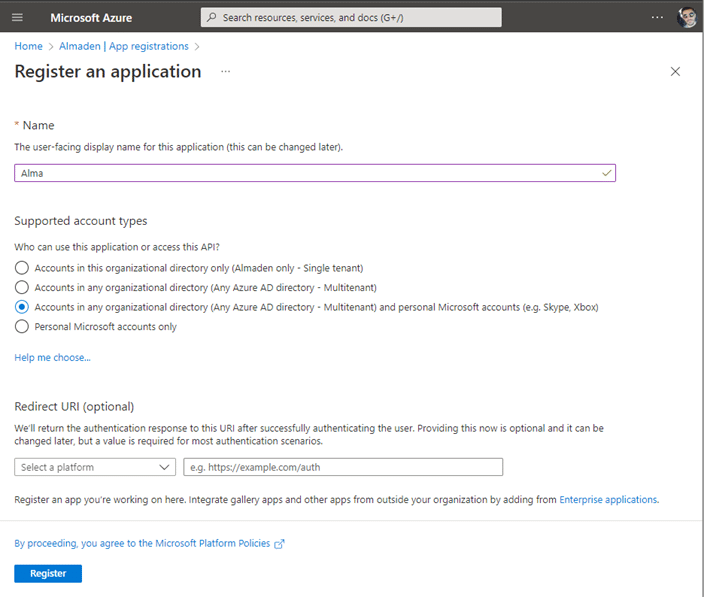
In the application registration, select:
Accounts in any organizational directory (Any Azure AD directory – Multitenant) and personal Microsoft accounts (e.g., Skype, Xbox)
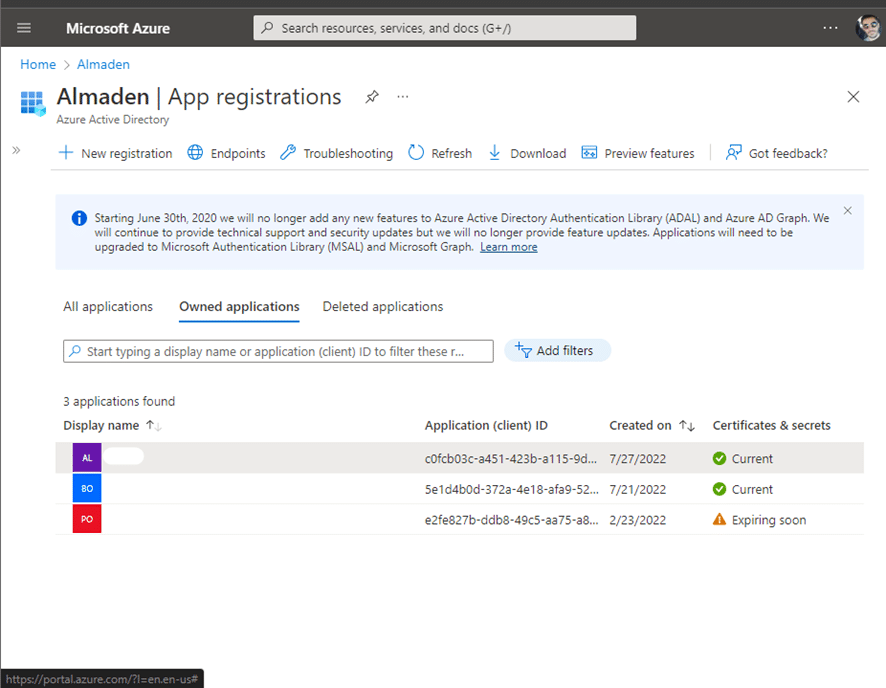
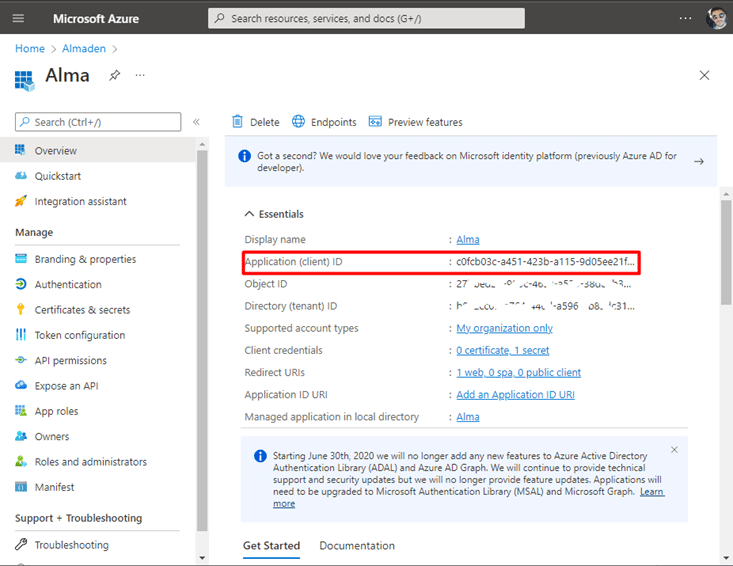
After creating the application registration, you will receive an “Application (client) ID.” Copy this generated code as it will be used later for authentication and authorization in the CIQ portal.
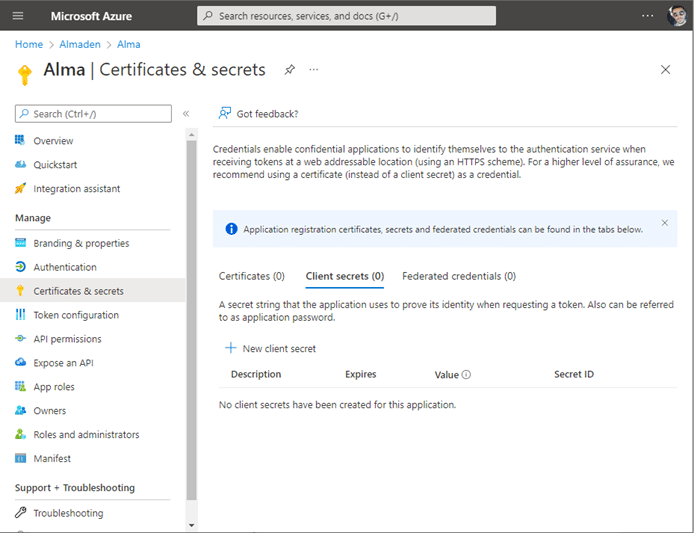
After creating the application, create the “Client Secret” and copy the value to fill in the CIQ portal.
This integration consumes the Microsoft Graph API, so we need to grant the following permissions:
Delegated permissions
- AppCatalog.ReadWrite.All
- AppCatalog.Submit
- Application permissions
- AccessReview.Read.All
- Directory.Read.All
- User.Read.All
This permission will ensure that the application has proper access to the required resources and functionalities. With these permissions, your service integration will be configured. Now, you will be able to enjoy the benefits of MS Teams integration with Alma.
Step-by-step integration of Alma with MS Teams.
To use Alma in Microsoft Teams, you need to follow these steps:
- Login to Azure Portal with admin credentials.
https://portal.azure.com/ - Select App Registrations from Azure Services list.
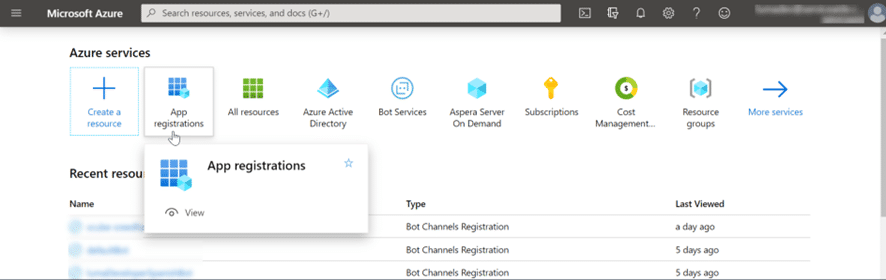
3. In the top bar, click on + New Registration.
4. In the “Register an application” screen, fill in the “Name” field with the word “Alma”, select the option “Accounts in any organizational directory (Any Azure AD directory – Multitenant) and personal Microsoft accounts (e.g. Skype, Xbox)”, and click on “Register”.
5. After creating the application, the following screen will appear. Please copy the code corresponding to the “Application (client) ID”, as shown in the image below:
6. Paste it in the indicated field on the CIQ platform.
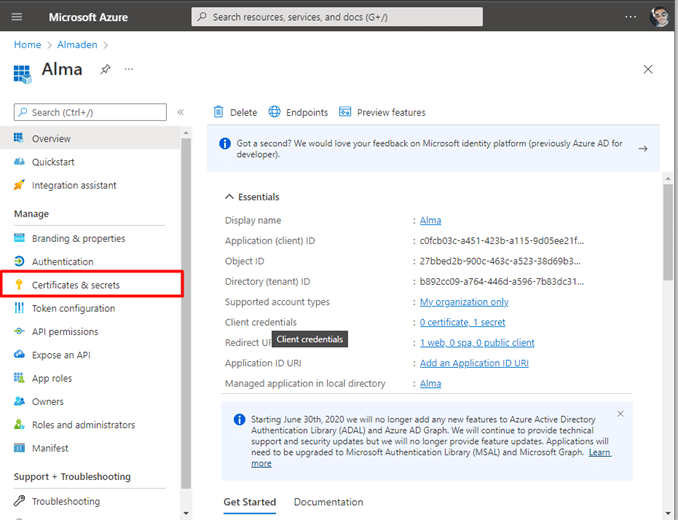
7. Then click on “Certificates & secrets”.
8. Click on “+ New client secret”.
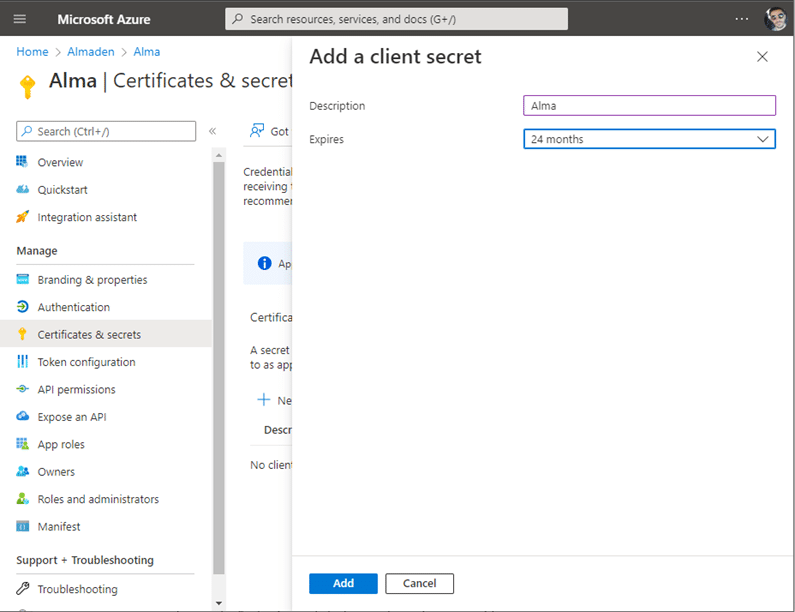
9. in “Description”, enter the word “Alma”, and in “Expires”, select “24 months”. Then click on “Add”.
10. Click on the copy button next to the code in the “Value” field to copy it.
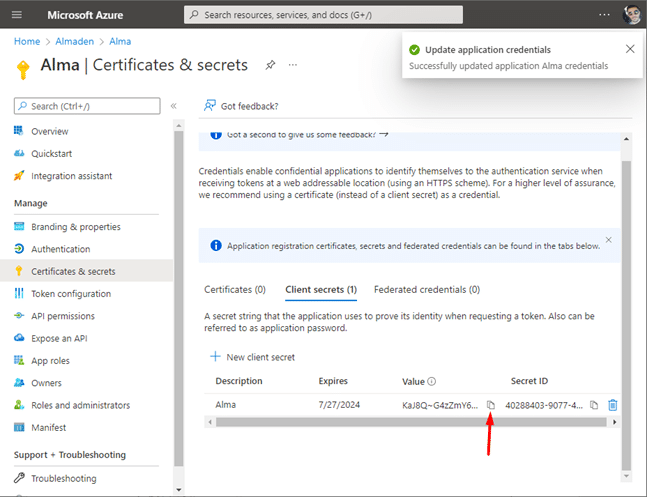
11. Paste the secret in the indicated field on the CIQ platform.
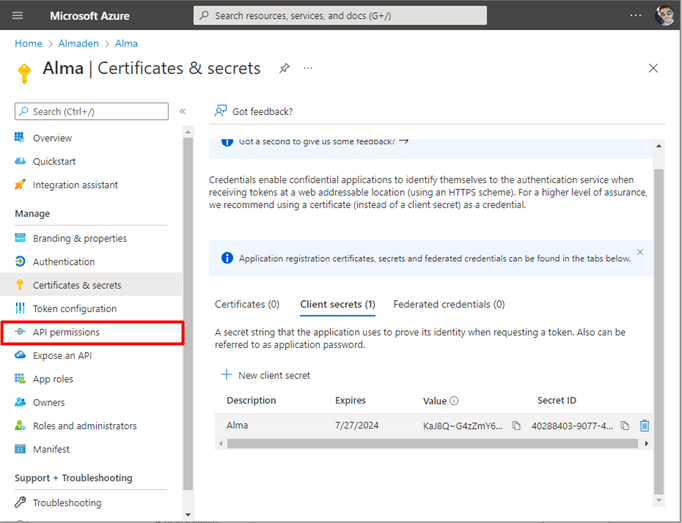
12. On the left sidebar, click on “API permissions”.
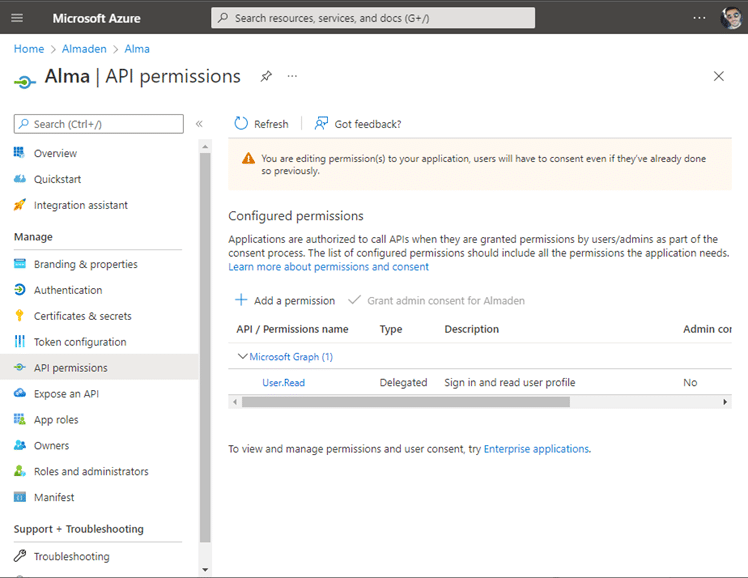
13. Clique em “+ Add a permission”
14. In the “Request API permissions” menu, click on “Microsoft Graph”.
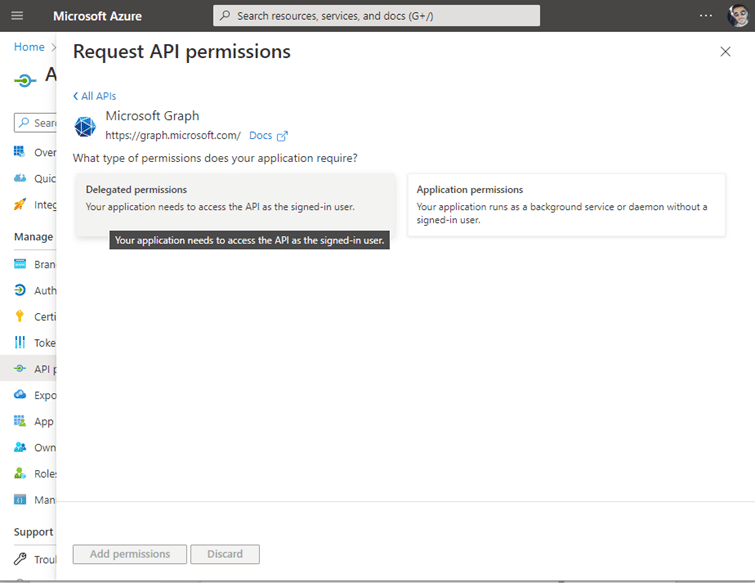
16. Click on “Delegated permissions” and then:
Search for “AppCatalog”;
Click on “App Catalog”;
Select the permissions “AppCatalog.ReadWrite.All” and “AppCatalog.Submit”;

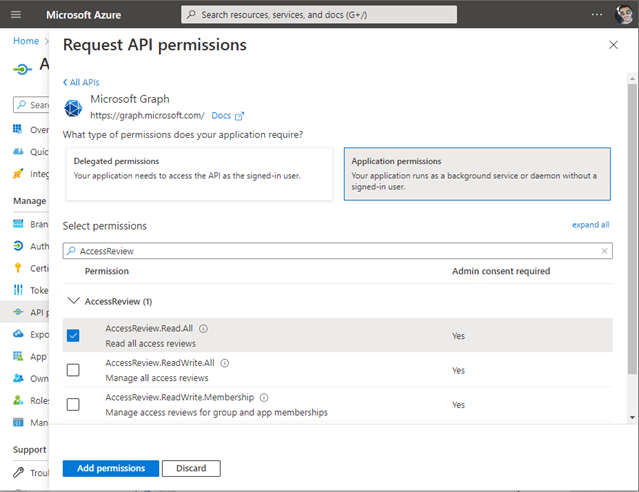
16. Click on the “Application permissions” button.
Search for “AccessReview”, select the permission “AccessReview.Read.All”.
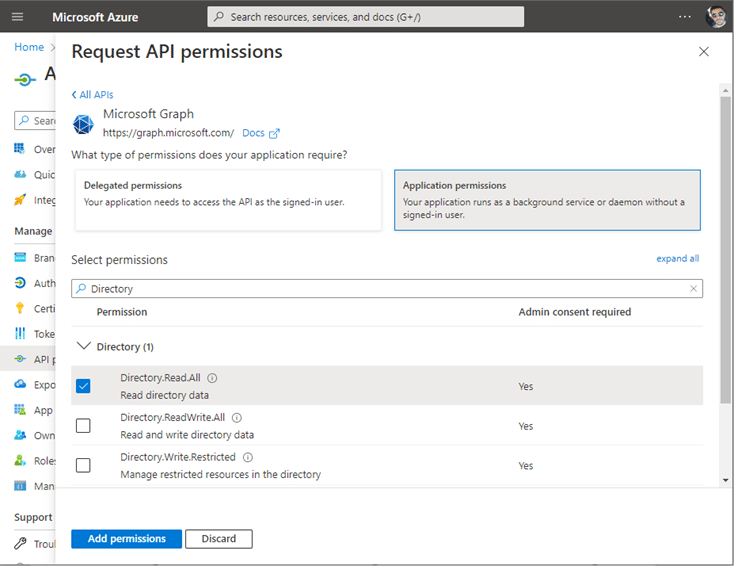
17. Search for “Directory” and select the permission “Directory.Read.All”.
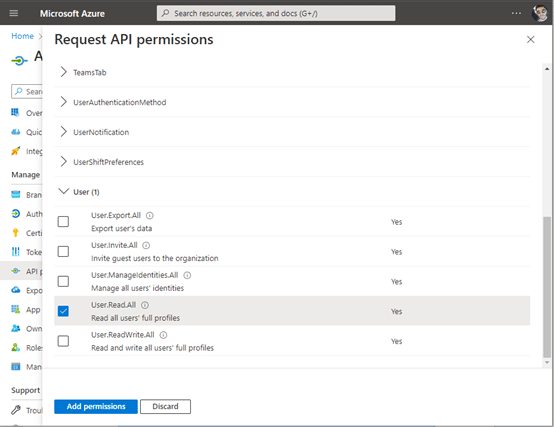
18. Search for “User”, click on the “User” tab, and select the permission “User.Read.All”. Then scroll up to the top of the page and click on “All APIs” to go back to the previous menu.
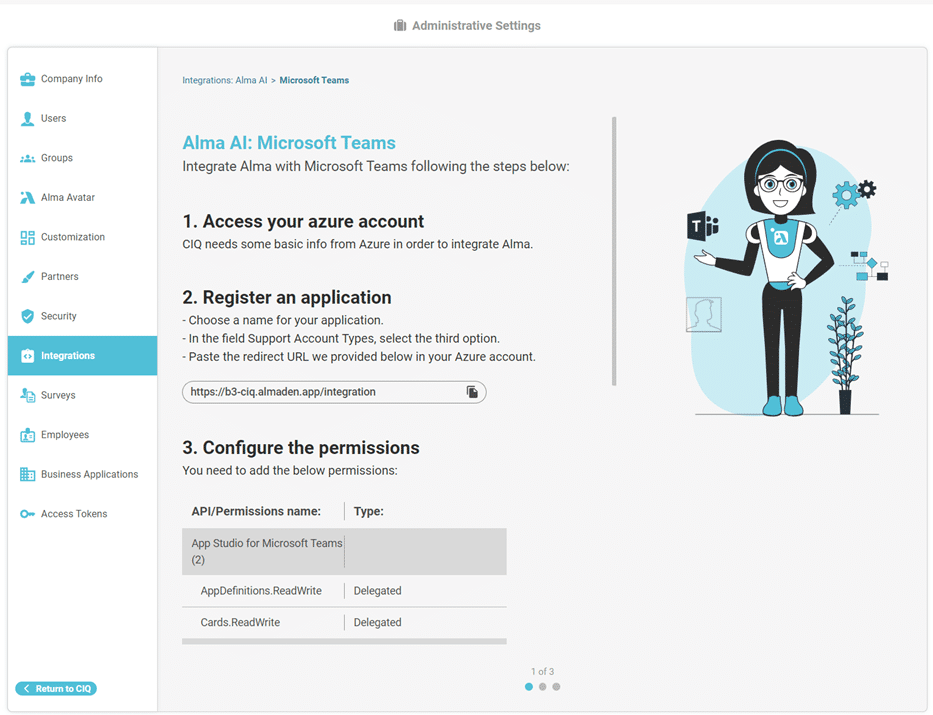
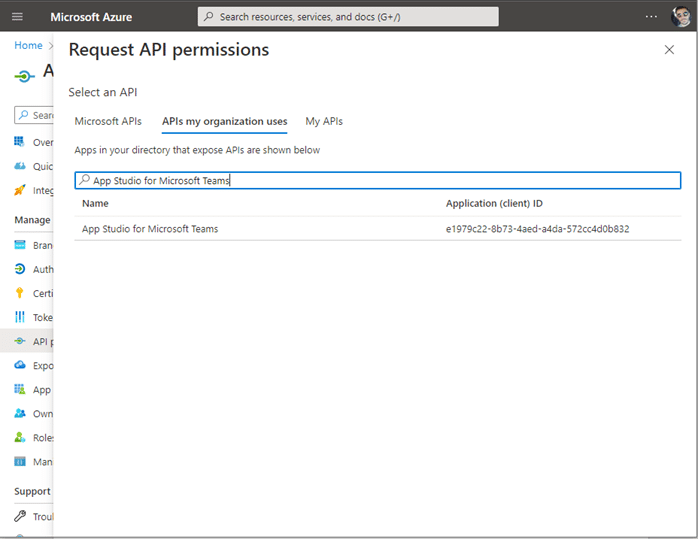
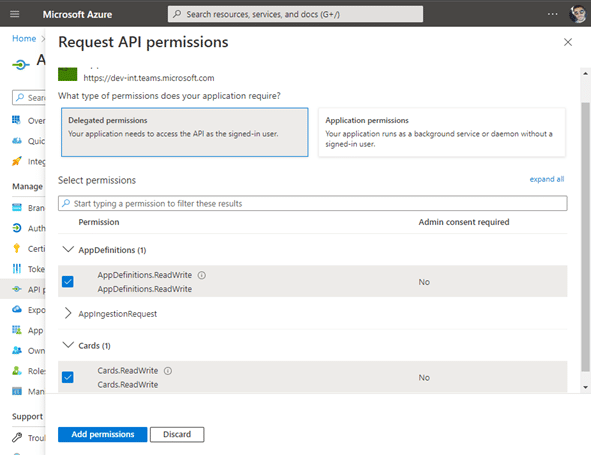
19. Click on “APIs my organization uses” and search for “App Studio for Microsoft Teams”, then click on “App Studio for Microsoft Teams”.
20. Click on “Delegated permissions” and select the permissions “AppDefinitions.ReadWrite” and “Cards.ReadWrite”.
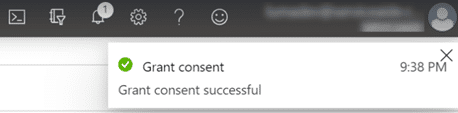
21. The requested permissions will appear in the API permissions list. Click on the ‘Grant admin consent’ button.

22. The system will now prompt for a message to grant consent for the requested permissions. Click on Yes to proceed and grant consent.

23. Once the permissions are added, the success message “Administrator consent successfully granted for the requested permissions” will appear.
24. The tenant information, application ID, and secret of this application should be configured in the CIQ integration for Teams.