Installing and configuring the Distribution Wizard
Installing and configuring the Distribution Wizard
The Almaden Distribution Wizard (ADW Plug-in) is a plug-in for the ASA Agent Module used to enable the Automatos Distribution Wizard service.
The ADW Plug-in controls the distribution of software, files or commands from distribution servers to other systems on the LAN. The distribution could be to either a single system or to large number of systems.
Components for a Distribution with ADW
Target Machines
A group of one or more machines where you want to install applications, run commands, or copy files remotely.
Repository and Irradiator Machines
Machines containing the remote files to be copied or executed on the target machines, usually the same one where the Distribution Wizard (ADW Plug-in) was installed.
Almaden Portal
Almaden Portal, where the user remotely controls the desired distribution, which can be of three types:
- Software;
- File;
- Command.
Prerequisites
To carry out the distribution process, as prerequisites it is necessary:
- Release of port 5900/5901, default of the Distribution Wizard (ADW) plugin.
- User that is part of the security group (Auto ADW SRC), which will be used in the creation of the software installation/removal process.
- Installation of the ADA Agent (up to three latest versions available).
- Installation of the ASRC Server (up to the last three available versions, when downloading the Agents, check the option: “Yes” in: the Software Distribution Module field).
For more information about prerequisites and port release please access the prerequisites document.
How to download the ADW plugin?
Access the document: How to Download Plugins
Installation
After downloading the ADW plugin, follow the steps below:
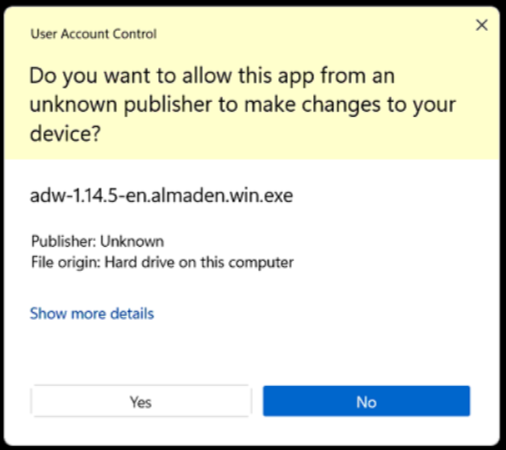
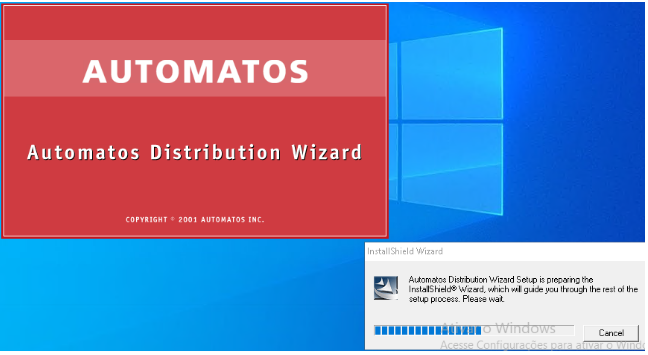
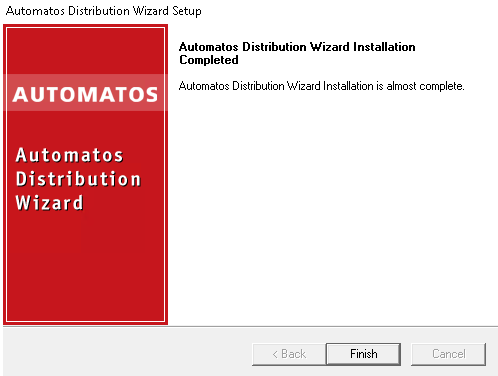
Two clicks on the downloaded file, allowing installation on Windows:
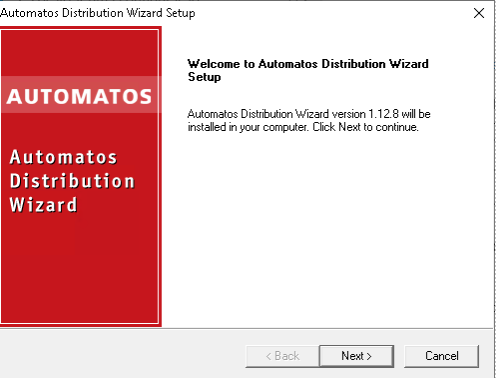
Installation completed:
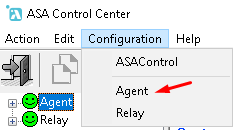
After installation, click on configuration > Agent.
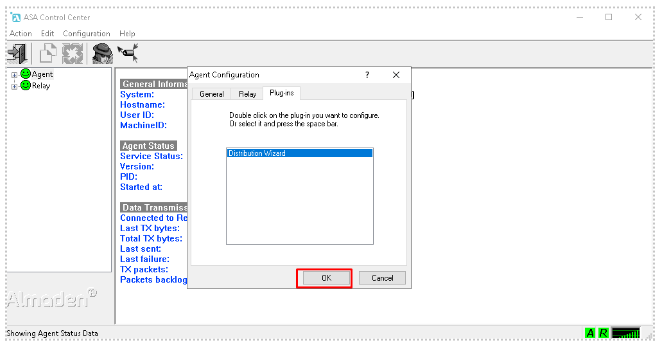
Access the plugins tab:
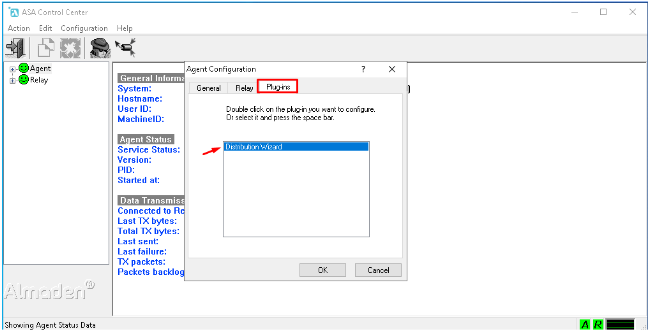
Double-click distribution Wizard, the screen below will appear:
Note that the application’s default port is 5900/5901.
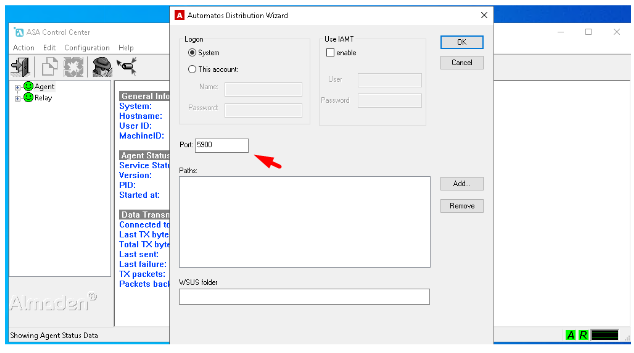
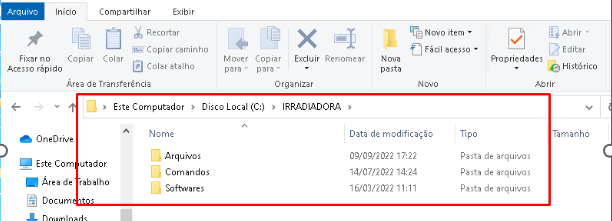
Create the folders on this server where the files and binaries that you want to distribute in the future will be deposited:
In the ADW plugin, click the Add button:
Check the option: Look in subfoldes to recursively share folders.
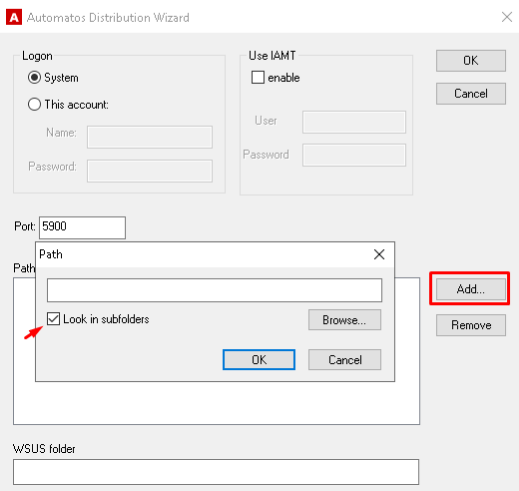
v
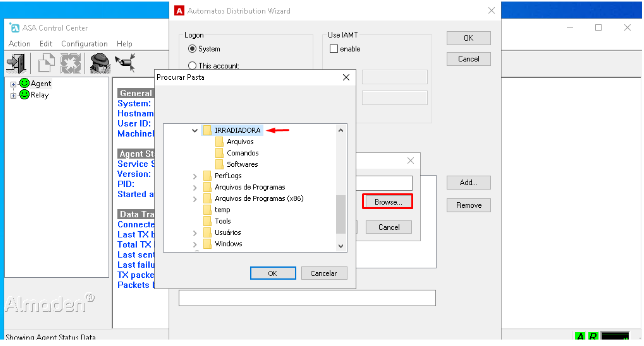
Click on the Browser button:
Select the root folder we created.
Click on the button: OK.
Click the OK button again to enter the folders.
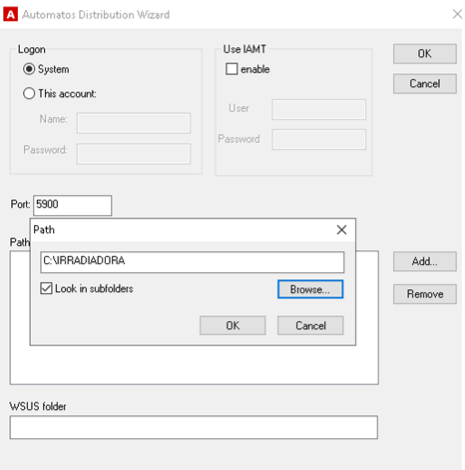
Added Folders:
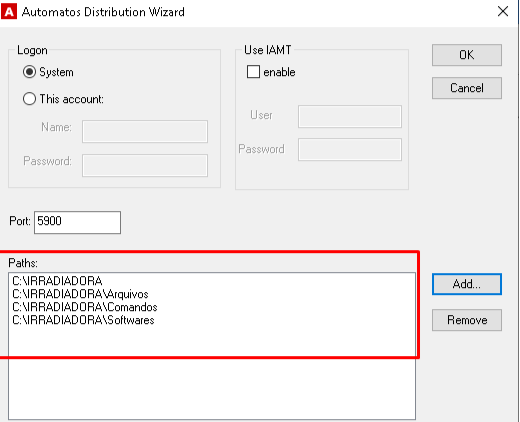
Click Ok to finish the folder mapping process:
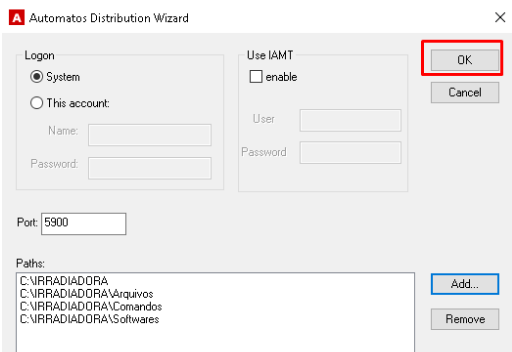
Click Ok to close the configuration screen:
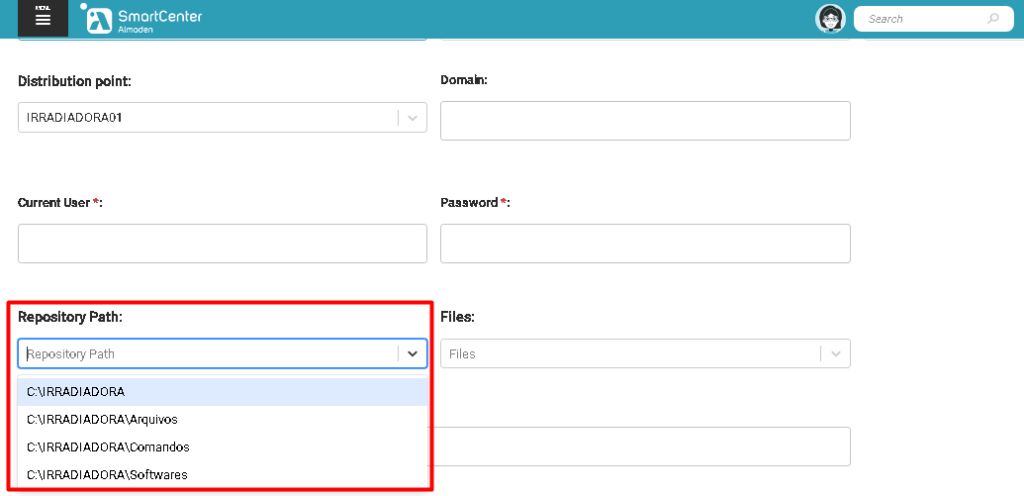
After configuration and sending the next data collection, the folders will be displayed in the SmartCenter portal.
Distribution Process via SmartCenter Portal
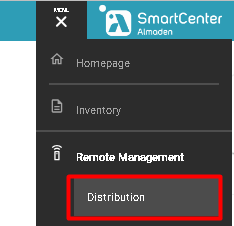
Click on the Create New button:

- Insert the name of the distribution, never add dot(.) or special characters, due to possible failures that may occur.
- Select the server on which the ADW plugin was installed.
- Inform the user that is part of the security group > Auto ADW SRC. (As per prerequisites).

- Inform the path of one of the folders that we created and shared on the radiator, inform the silent installation parameter, or edit the executable so that it is already configured in silent mode.
- Select the assets you want to distribute this software.
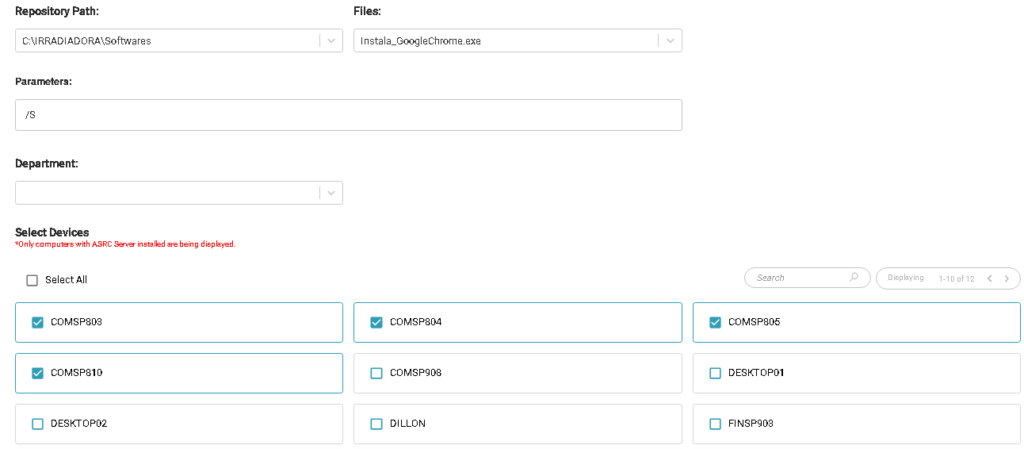
Click Run/Save to start the distribution process and keep the process saved in case you want to change and run it again.

Created distribution process:

It is possible to: edit, delete or rerun this distribution process, in addition to checking the distribution failure or success details in the log button.

After creating the process, wait around 5 minutes for it to run.
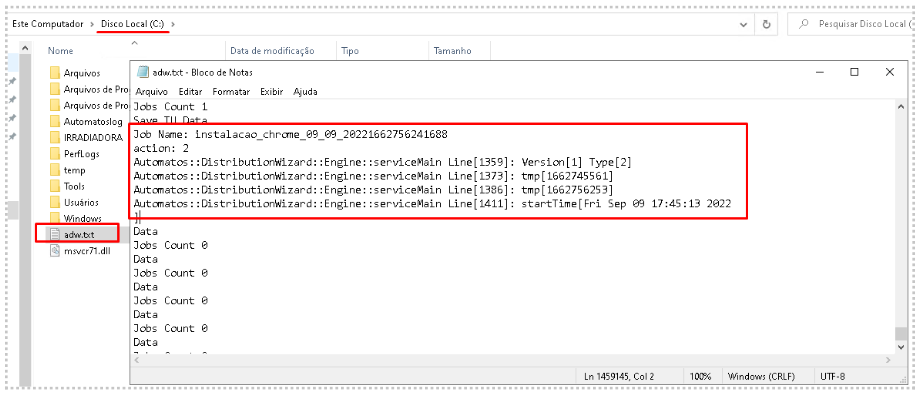
To check the distribution status click on the log button.

When carrying out the distribution process, Job logs are generated, which are created on the Distribution Server where the ADW plugin was installed, in the path C:\adw.txt
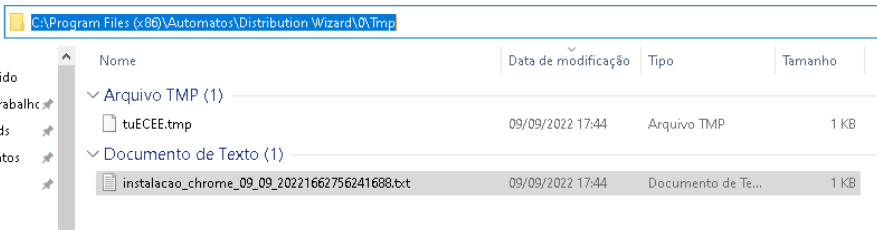
Tasks created in the tmp folder:
C:\Program Files (x86)\Automatos\Distribution Wizard\0\Tmp