
Changes
Change Report
Monitor everything that changes — your security and control start here.
The Change Report is an essential tool for tracking any modifications made to monitored devices. It allows you to closely follow changes in:
- Hardware (e.g., memory, disk, or processor replacements)
- Software (e.g., program installations or removals)
- Network (e.g., IP, gateway, or DNS changes)
- Connected media (e.g., use of USB drives or external hard drives)
With this complete history, you have a reliable timeline to identify critical events, diagnose issues, detect suspicious behavior, and ensure compliance with security policies.
It is a powerful source of auditing and transparency for everything that happens on your company’s workstations and servers.
Note:
For notebooks and desktops, hardware, software, network, and media changes are available.
For servers, only hardware and software changes are available.
Menu> Inventory> Reports> Changes
How to generate a change report:
Step 1 – Date and Departments
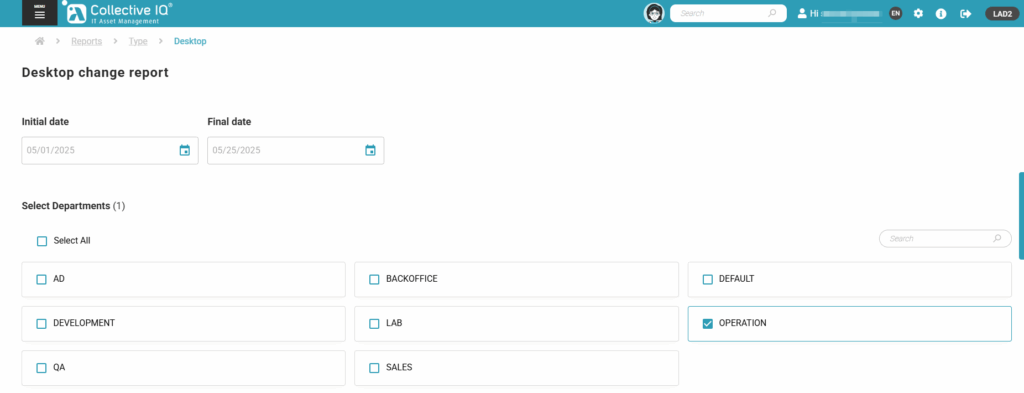
- Initial date: start date that will be part of your report
- Final date: final date that will be part of your report
- Select department
Step 2 – Select devices
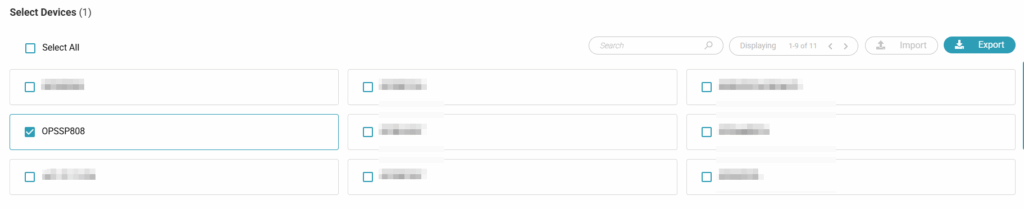
select the devices that will be part of the report
Step 3 – Resources
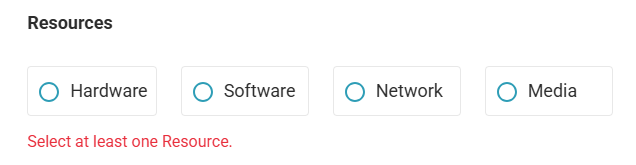
Select the features for the change report.
Note: BLUE color items will only be available for Desktop Agent
Below are the possible fields:
Hardware
Processor
Memory
CD-ROM
Fixed disk
Logical drive
Remote disk
Removable disk
Memory slot
PCI Slot
USB Device
Video adapter
Software
Installed
Removed
Present
Network
DNS
DNS V6
Domain
Gateway
Gateway V6
Hostname
Network interface
IP address
IP address V6
Current User
Netmask
Media
Media
CD-ROM
Fixed disk
Logical drive
Remote disk
Removable disk

Select resources
Step 4 – Export / View data
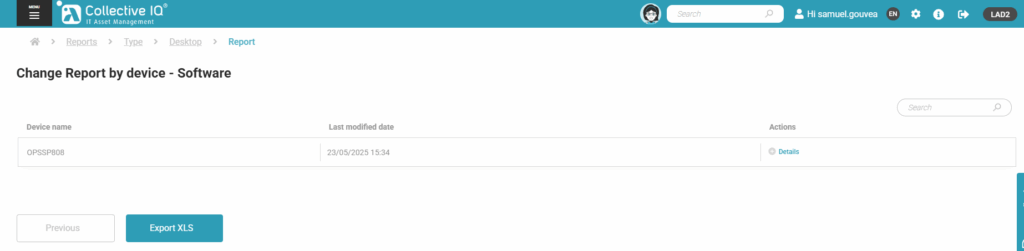
Export the data by clicking on “Export xlsx” or click on “Details” to view the data on a web page
Step 5 – Spreadsheet view

Sort the data as you prefer
Step 6 – Web page view
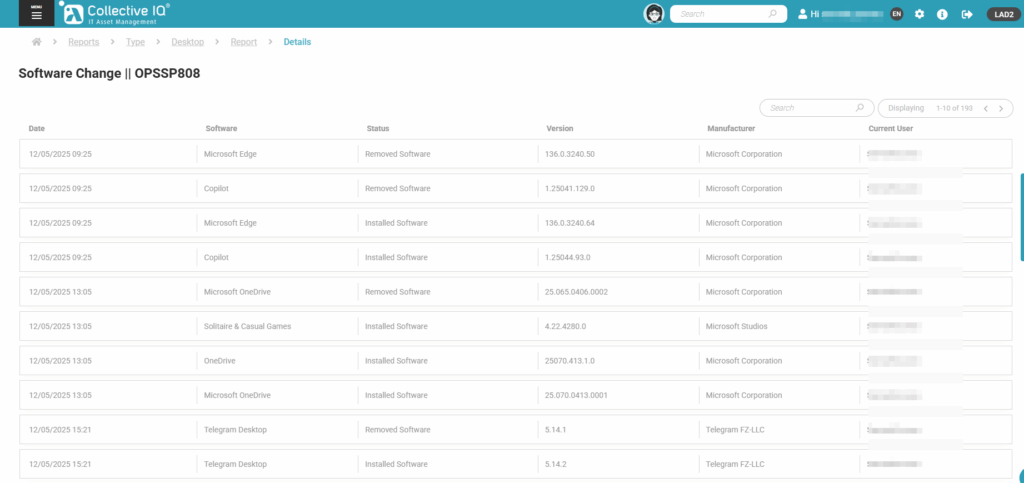
When clicking on “Details” the data displayed on the web page.
