Agent macOS – Installation
Agent macOS – Installation
Step-by-step guide for macOS
This document provides the installation guide for Almaden agents on macOS. These agents are essential components responsible for collecting and transmitting device data to the CIQ ITAM and CIQ DEX portals. By ensuring their proper installation and configuration, organizations can guarantee accurate data flow for asset management, performance, and digital experience insights.
Prerequisites
If there is a previous installation of the Agent, run the command below before proceeding:
sudo rm -rf /Applications/AutomatosADANOTE: macOS only sends data to the cloud; communication via Relay is not possible.
Download
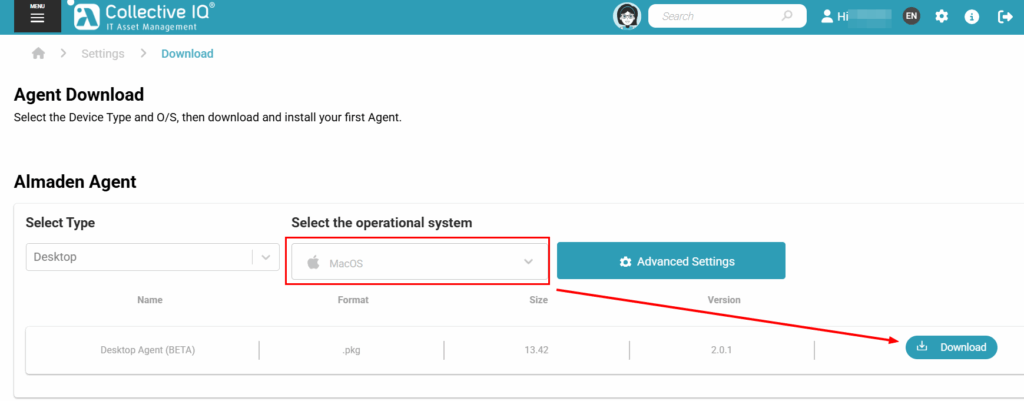
Step 1 – Download
CIQ ITAM> Settings> Agent Download
Installation
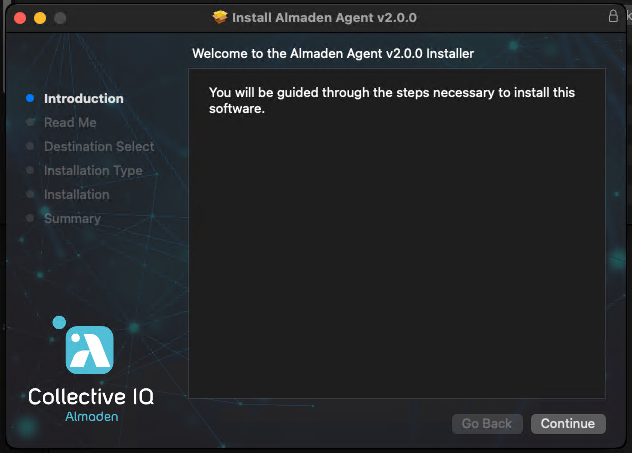
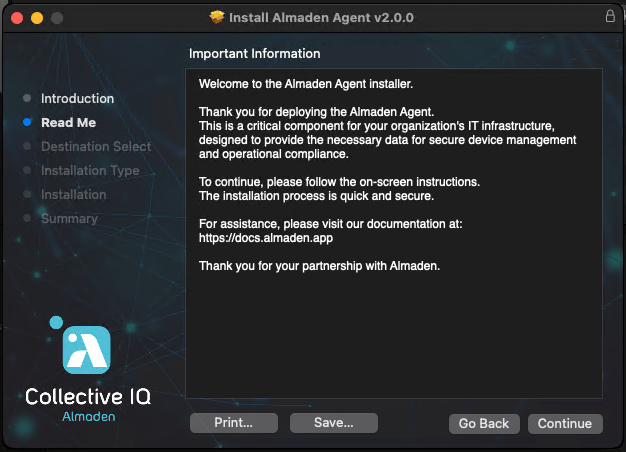
Step 2 – Run the installation package.

Note: When running the “.pkg” file, make sure the “Settings.txt” file is in the same directory. This file is responsible for configuring the agent to the correct account — if it’s missing, the agent will not communicate properly.
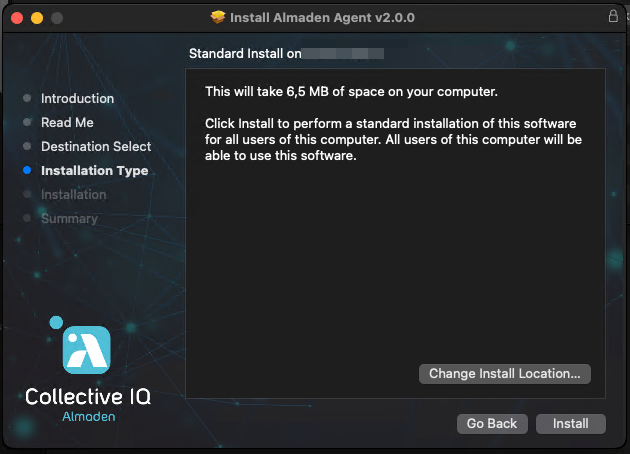
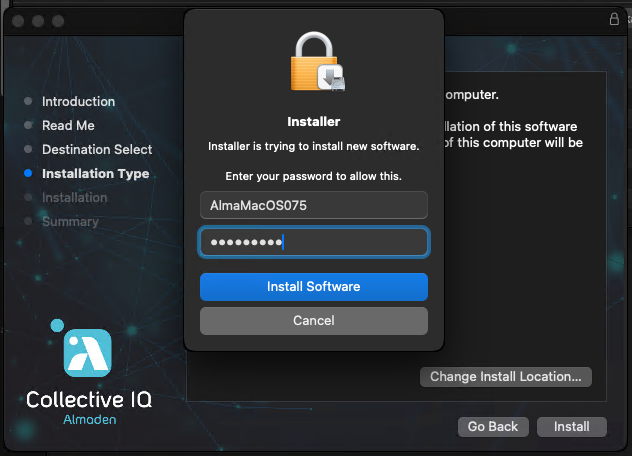
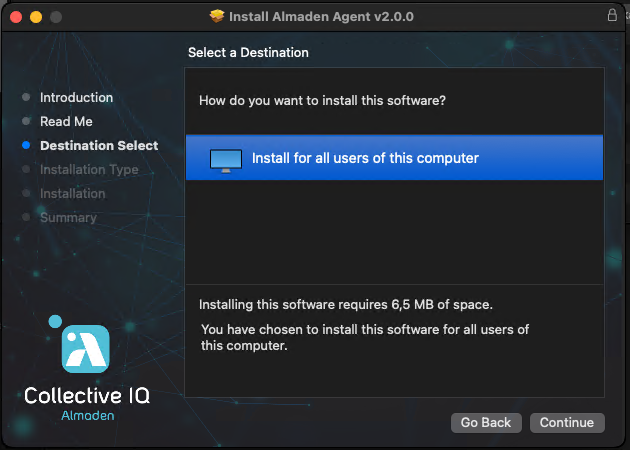
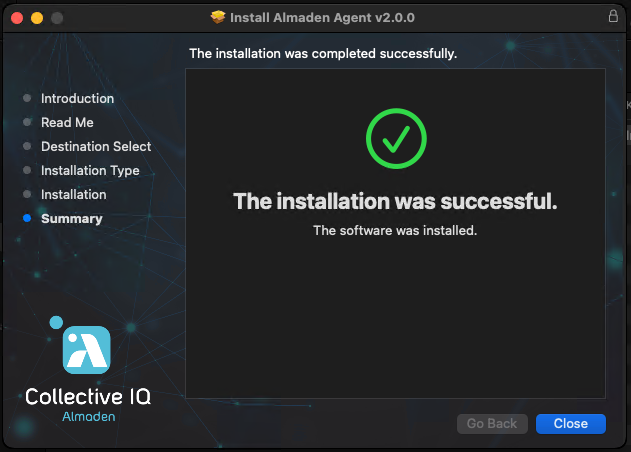
Step 3 – Proceed with the installation process.
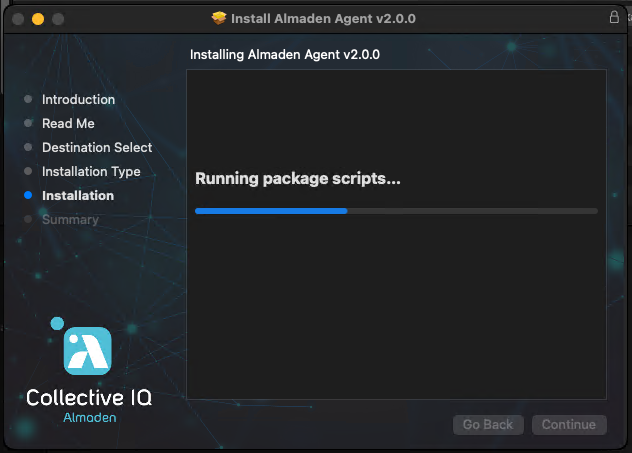
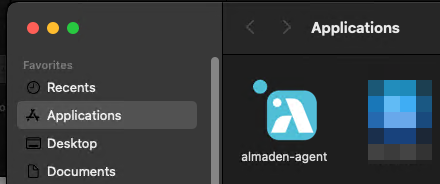
You can check for the almaden-agent in “Applications”
Check applied configuration
Step 4 – Check the applied settings
almacli config get
Step 5 – Data Consolidation Time
Please allow up to 1 hour after installation, with the device turned on and connected to the internet, for the data to be consolidated in the CIQ ITAM and CIQ DEX portals.
DONE!
Checking connectivity to Almaden
This test is crucial to validate agent communication with Almaden. Any blockage on the corporate network may prevent data from being sent, which would result in the device not being registered on the CIQ ITAM and CIQ DEX portals.
# LAD1
nc -vz lad1v1rm1.almaden.app 443

# LAD2
nc -vz lad2v1rm1.almaden.app 443
Advanced Commands
useful for technicians
Advanced commands are used to analyze the agent’s behavior, stop and restart the process, and validate data transmission to the CIQ ITAM and CIQ DEX portals.
almacli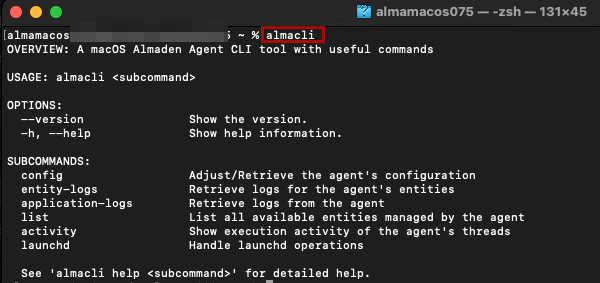
almacliManually configure
Configuration commands
These commands are only necessary under technical guidance.
# Example
almacli config set --SUBCOMMAND CONFIGURATION

#Commands
almacli config set --customer-email ACCOUNT
almacli config set --department-name DEPARTMENT
almacli config set --receiver-url RECEIVER
almacli config set --receiver-port 443
ACCOUNT = Main account for accessing CIQ ITAM and CIQ DEX (Not a user sub-account)DEPARTMENT = Department where this device’s record will be created in CIQ ITAMalmacli config set --receiver-port 443 = Do not change this line; communication occurs only through port 443
RECEIVER = Agent data transmission to Almaden
LAD1: lad1v1rm1.almaden.app
LAD2: lad2v1rm1.almaden.app
Example

Machine ID (Identifier)
Display device identifier
almacli device-identifier
Agent Version
Displays the installed agent’s version.
almacli --version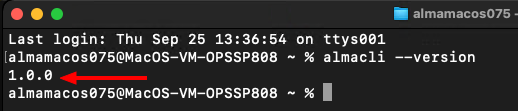
almacli --versionConfiguration
almacli config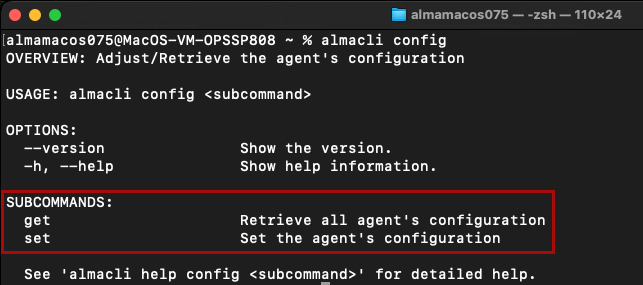
almacli configView applied settings
Displays the configurations applied to the agent.
almacli config get
almacli config getApply settings
Applies the agent’s communication commands: Main Account, Department, Receiver, and Receiver Port.
ACCOUNT= Main accountDEPARTMENT= Department to organize the device at CIQ ITAMRECEIVER= Receiver address- Note: Port 443 should never be changed
almacli config set --customer-email ACCOUNT
almacli config set --department-name DEPARTMENT
almacli config set --receiver-url RECEIVER
almacli config set --receiver-port 443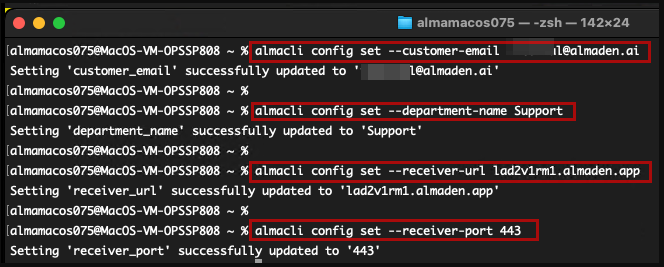
View entity logs
Displays the logs of each entity for both collector and consumer.
almacli entity-logs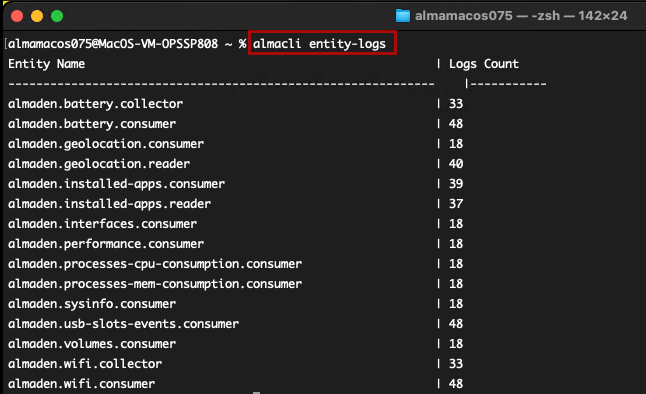
almacli entity-logsSpecific entity
Provides detailed logs for each entity.
almacli entity-logs --entity-name ENTITY_NAME| SUBCOMMAND | INFORMATION |
almacli entity-logs --entity-name almaden.battery.collector | Displays logs related to battery data collection. |
almacli entity-logs --entity-name almaden.battery.consumer | Shows logs of battery information consumption by the agent. |
almacli entity-logs --entity-name almaden.geolocation.consumer | Displays logs of geolocation data usage and processing. |
almacli entity-logs --entity-name almaden.geolocation.reader | Shows logs of geolocation data reading. |
almacli entity-logs --entity-name almaden.installed-apps.consumer | Displays logs of consumption and processing of the installed applications list. |
almacli entity-logs --entity-name almaden.installed-apps.reader | Shows logs of reading installed applications on the device. |
almacli entity-logs --entity-name almaden.interfaces.consumer | Displays logs of processing and consumption of network interface information. |
almacli entity-logs --entity-name almaden.performance.consumer | Shows logs of system performance data consumption. |
almacli entity-logs --entity-name almaden.processes-cpu-consumption.consumer | Displays logs related to CPU consumption by processes. |
almacli entity-logs --entity-name almaden.processes-mem-consumption.consumer | Shows logs about memory consumption by processes. |
almacli entity-logs --entity-name almaden.sysinfo.consumer | Displays logs of system information consumption. |
almacli entity-logs --entity-name almaden.usb-slots-events.consumer | Shows logs of events related to USB ports. |
almacli entity-logs --entity-name almaden.volumes.consumer | Displays logs about storage volumes consumed by the agent. |
almacli entity-logs --entity-name almaden.wifi.collector | Shows logs of Wi-Fi connection data collection. |
almacli entity-logs --entity-name almaden.wifi.consumer | Displays logs of Wi-Fi data consumption and processing. |
Example
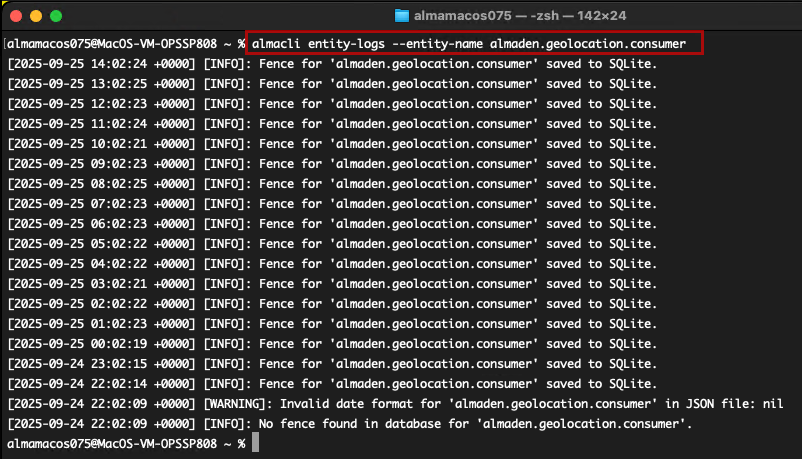
almacli entity-logs --entity-name almaden.geolocation.consumerView application logs (Agent)
Displays the agent’s operational flow, showing the execution date of readers, reader threads, and Dispatch.
almacli application-logs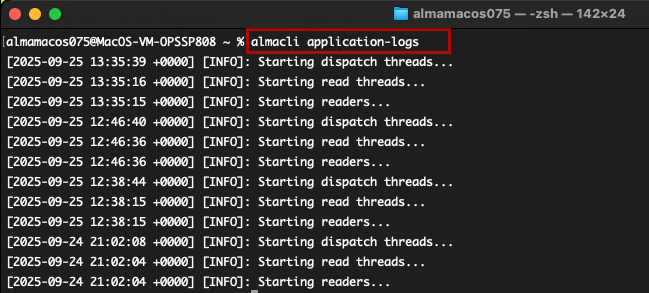
almacli application-logsList all agent components
Displays the list of all components of the entities.
almacli list SUBCOMMAND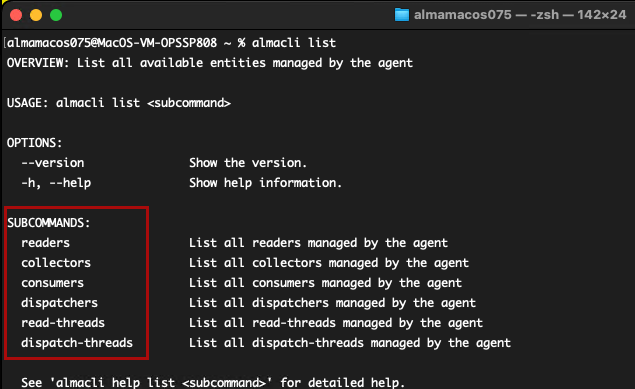
almacli listSubcommands
This command only lists the application components.
| Subcommand | Information |
almacli list readers | List all readers managed by the agent |
almacli list collectors | List all collectors managed by the agent |
almacli list consumers | List all consumers managed by the agent |
almacli list dispatchers | List all dispatchers managed by the agent |
almacli list read-threads | List all read-threads managed by the agent |
almacli list dispatch-threads | List all dispatch-threads managed by the agent |
Example:
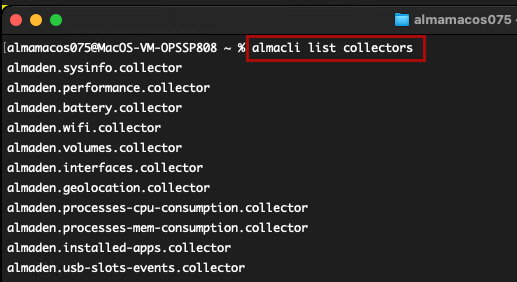
almacli list collectorsAgent activity and dispatch
Check the agent’s operating and dispatch flow
almacli activity SUBCOMMAND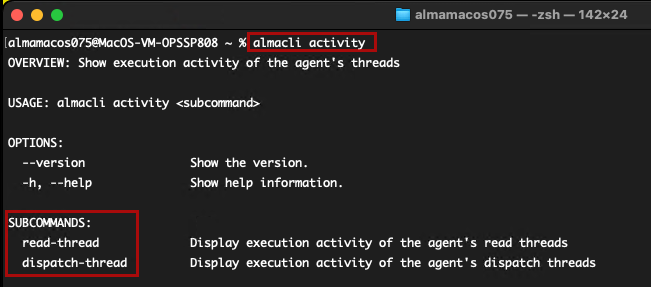
almacli activityAgent reading
Displays how many times the related reader has run in the last 30 days and its most recent execution.
almacli activity read-thread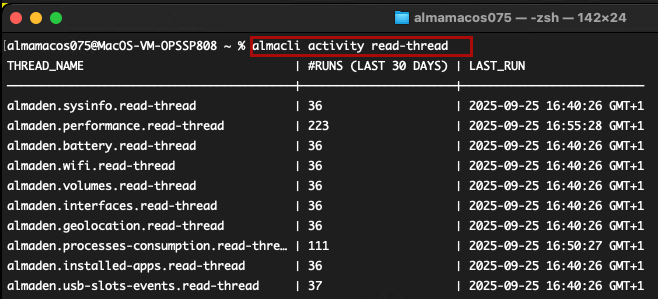
almacli activity read-threadDispatch activity
Displays how many times data has been sent to Almaden in the last 30 days and its most recent transmission.
almacli activity dispatch-thread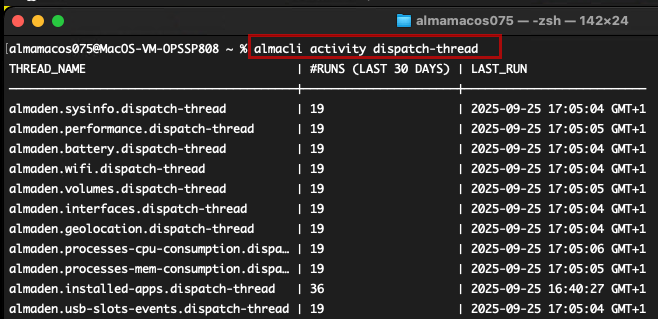
almacli activity dispatch-threadAgent Service
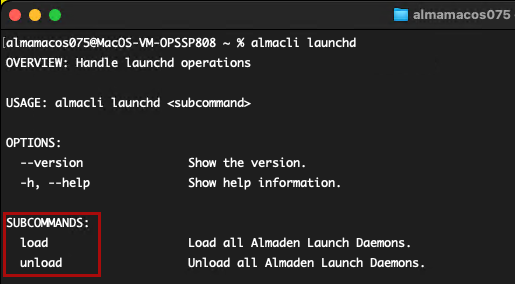
Commands to control the agent’s operation, including stopping and starting the agent.
# Starts the agent's operation
almacli launchd load

Stops the agent's operation.
almacli launchd unload Note: The agent can only be stopped using “unload”; if terminated by other methods on macOS, it will automatically restart.
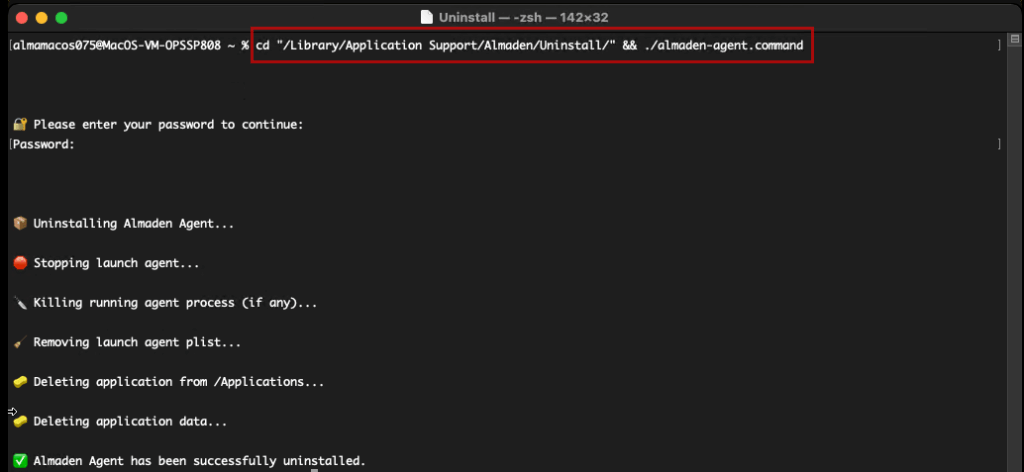
Uninstall
Uninstall
To uninstall the Almaden agent, run the command below:
cd "/Library/Application Support/Almaden/Uninstall/" && ./almaden-agent.commandAfter entering the administrator password, the agent will be uninstalled.