
Install SNMP Plug-in
🔌 Install SNMP Plug-in
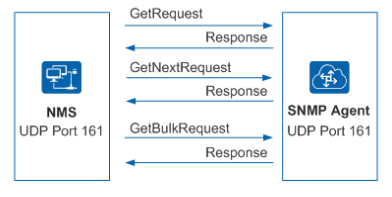
This feature allows the installation of a specialized plugin to collect detailed information from network devices compatible with SNMP v1 and v2c protocols. With it, you significantly expand visibility over switches, routers, access points, and other manageable infrastructure equipment.
The plugin installation is quick and simple, and it can be applied centrally. Once active, the plugin automatically collects data such as active interfaces, traffic, operational status, manufacturer information, model, and more.
This integration is essential for environments that require comprehensive monitoring of network assets in addition to servers and workstations. All of this happens without the need to install agents on SNMP devices, ensuring a lightweight and scalable process.
In summary, SNMP Plugin Installation enables intelligent and automatic network data collection, promoting proactive management of the connected infrastructure.
Prerequisites
- Server with Windows Server 2012 R2or higher operating system and the Server Agent pre-installed.
- Only SNMP v1 and SNMP v2c
- This machine, responsible for device monitoring, must remain continuously powered on to collect data throughout the day.
- SNMP agent must be installed and enabled on the devices to be monitored by this plugin.
- The IP address of the host where the plugin is installed must be included in the range of allowed IP addresses to read the device’s status.
- The SNMP agent must be configured to send traps to the IP address of the host where the plugin is installed and to the “trap-listening” port.
- The default port for “trap-listening” is 162. If this port cannot be used for this purpose, it will be necessary to configure the plugin to use another port. This operation will be further explained in section 3.
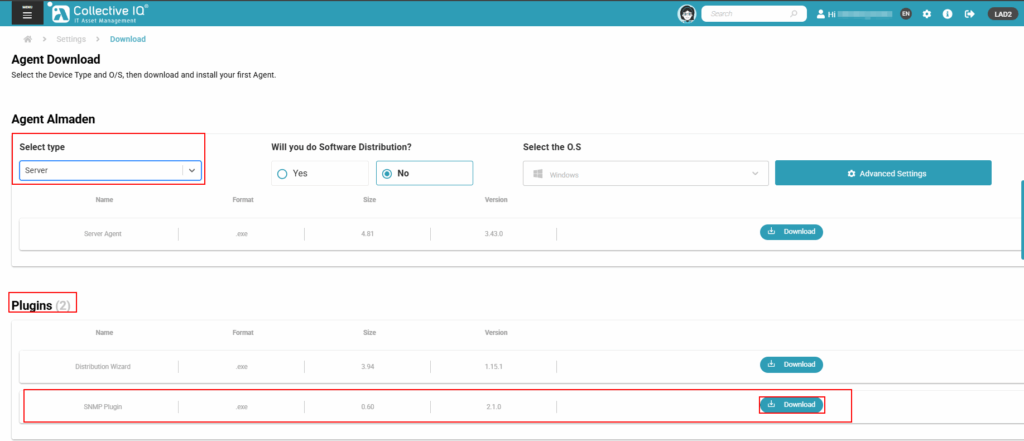
Plugin SNMP (Download)
In the “Select Type” section, select “Server Agent”. After that, the available plugins for it will be displayed under “Plugins”, and you can download the “SNMP Plugin”.
NOTE: This plugin only works when installed alongside the “Server Agent”.
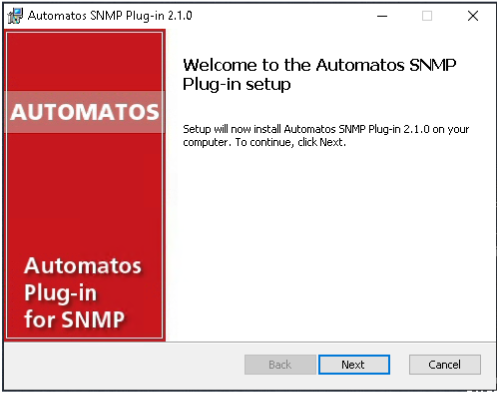
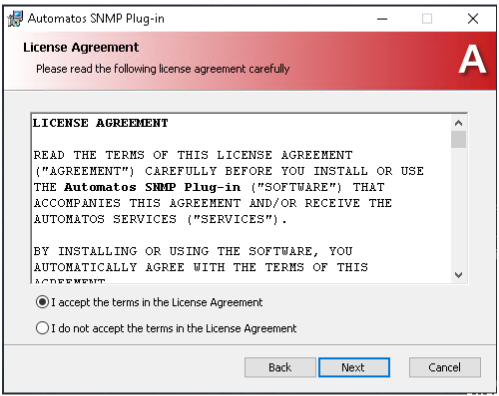
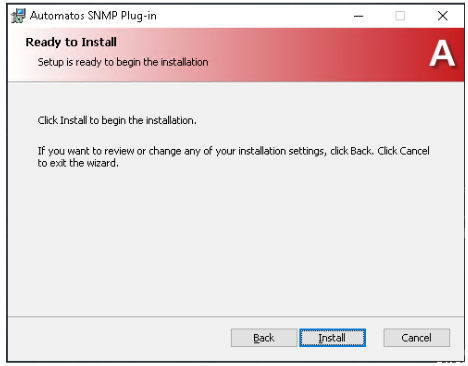
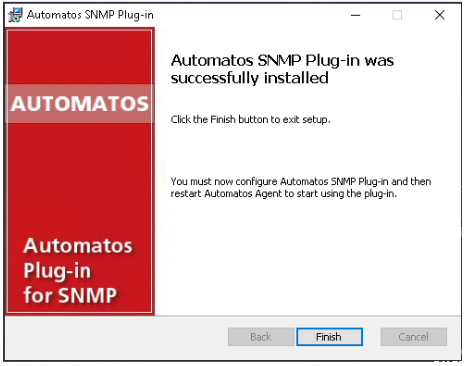
Installing SNMP Plugin
Note: The plugin can only be installed on a server with ASA.
Configuring SNMP Plugin
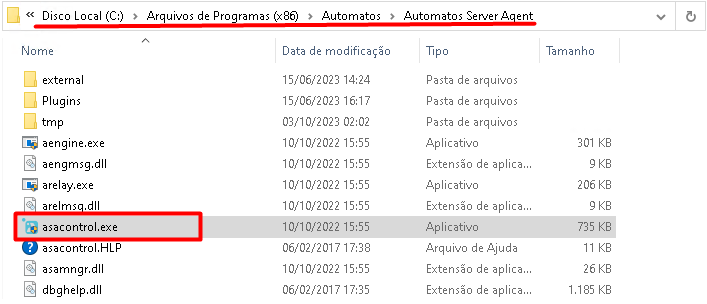
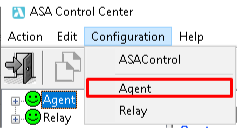
Step1
Execute o ASA Control"C:\Program Files (x86)\Automatos\Automatos Server Agent\asacontrol.exe"
Step 2
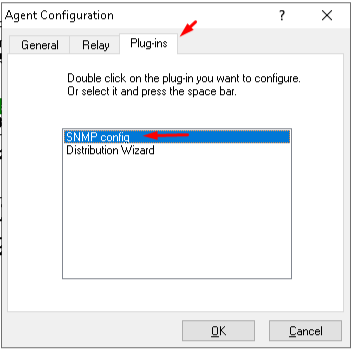
Step 3
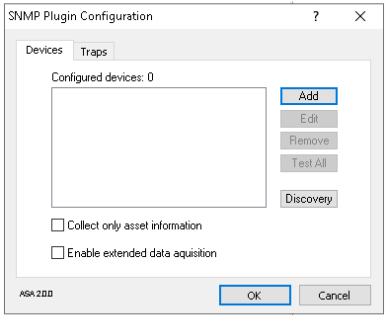
Step 4
Step 5
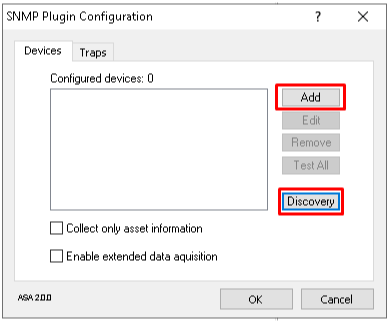
There are two possibilities for associating devices with SNMP protocols.
Adding the device IPs in the option: Add;
Performing Scan using the option: Discovery.
Associating devices with the plugin
Method 1: Add Manually
- Click on the button: Add;
- In target > IP address, enter the desired IP, then click on the button: Test.
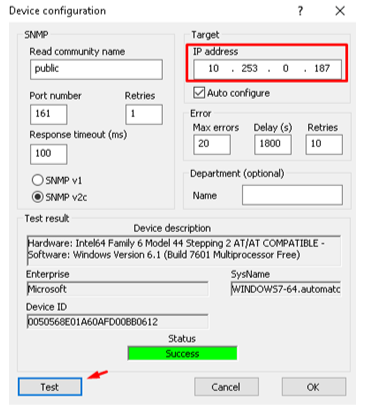
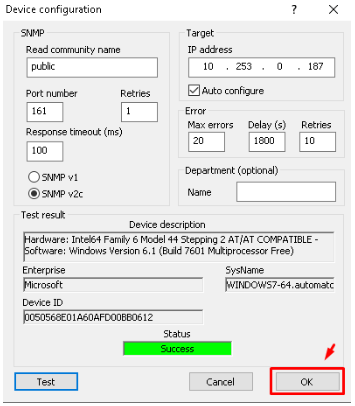
- After testing with status: Success, click OK to add.
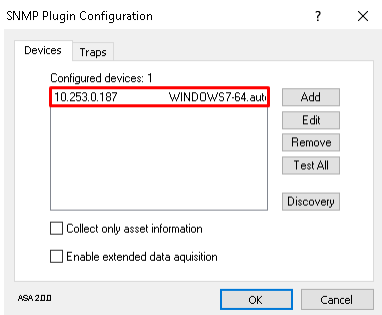
- Added example device.
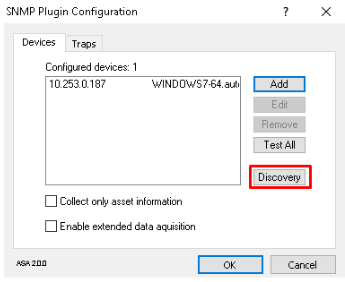
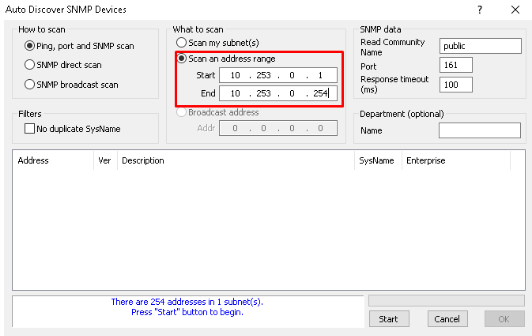
Method 2: Discovery
- Click on the button: Discovery;
- Define the IP range “Start” and “End” for the discovery.
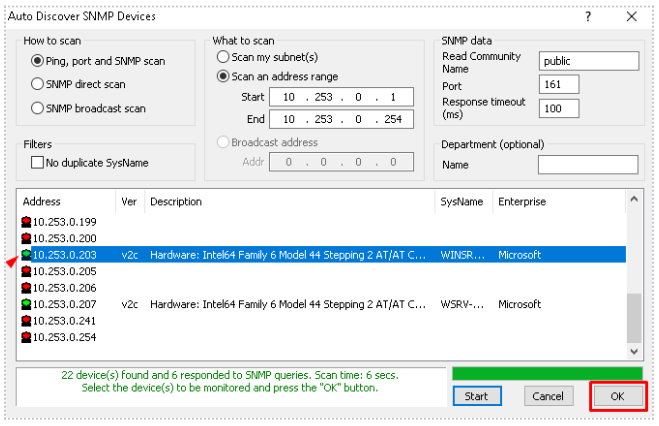
Click the button: Start to start the scan.
- The green icons indicate successful SNMP communication.
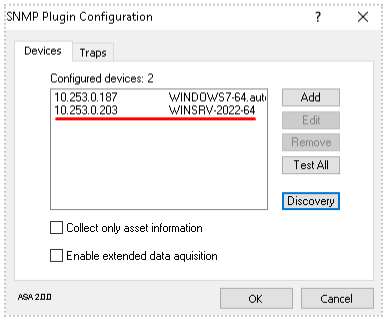
Click “OK” to complete the configuration.
- The items in the “Configured devices” list should already have their data included in CIQ ITAM.
Access and Read Manual: CIQ ITAM > SNMP
Troubleshooting
If an error or red button appears when adding devices via “Discovery” or “Add”, check the following:
- The device is powered on and connected to the network.
- The SNMP agent is installed, active, and properly configured on the device.
- The network between the plug-in and the device is functioning:
- Try pinging the device.
- If the connection is slow, increase the timeout value in the “
Response timeout” field (default: 100 ms). - The IP of the computer running the plug-in must be authorized to access the device’s SNMP service.
- The “
Community Name” must match the one configured on the SNMP agent. The default is “public”.
If “Auto-configure” was not used:
- Try using a different SNMP version (v1 or v2c).
- Or enable the “
Auto-configure” option.
Check the SNMP port configured on the device:
- The default is 161.
- If different, enter the correct port number in the “Port” fields in the “Discovery” and “Add” windows.
Alerts
SNMP IP Restrictions: Allow only trusted IPs for SNMP agent read/write access. Include the plug-in host IP.
Webconsole Hint Failures: Blank points may occur due to missing database data, usually caused by interface unavailability. This is expected.
Machines with 2 Network Interfaces: Select only one interface during SNMP Discovery. Enable “No duplicate SysName” under “How to Scan” to avoid duplicate data.
Interfaces with Identical Names: They are distinguished by an index before the description. To view this, go to: NETWORK → ASSET WIZARD → LIST ALL.
“Packets” Button in Webconsole: Set the maximum packets-per-second value at: NETWORK → MAINTENANCE → ADJUST MAX PACKETS RATE. The total packet count is not necessarily N * X (interfaces * individual capacity).
“Detailed Info” Applet: Displays packets per second per interface. The values are absolute; it’s not necessary to know the total interface capacity.
