
Record a Session – ISL Player
Download
Please follow the steps below to begin using ISL Player : ISL Player Download
Run ISL Player
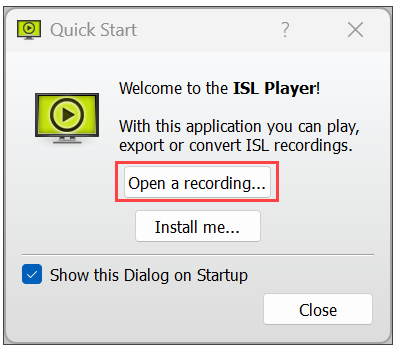
Run the ISL Player executable file and Click “Open a recording“
Note: You do not need a account to use ISL Player – this means that anyone can start it and view session recordings, e.g. a sysadmin who received a .isr file and wants to review actions that have been recorded in a session on a specific machine.
Open Recording
Step 1
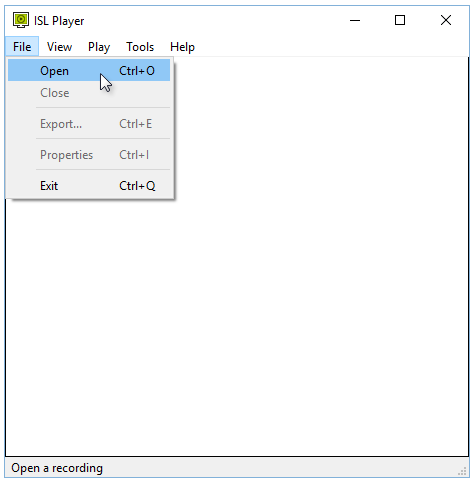
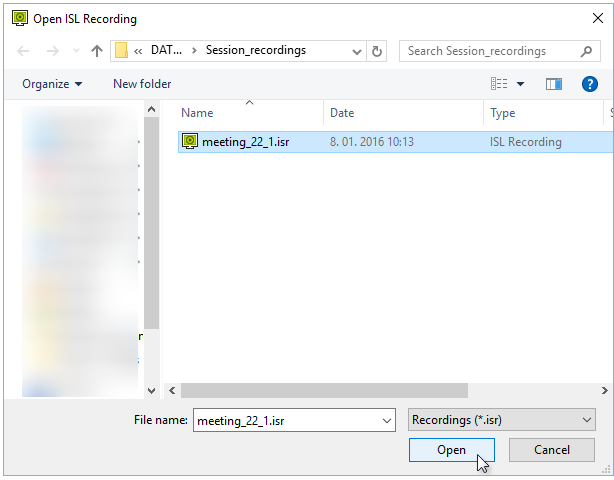
Access the menu: File> Open and search for the recording file
ISL Player GUI
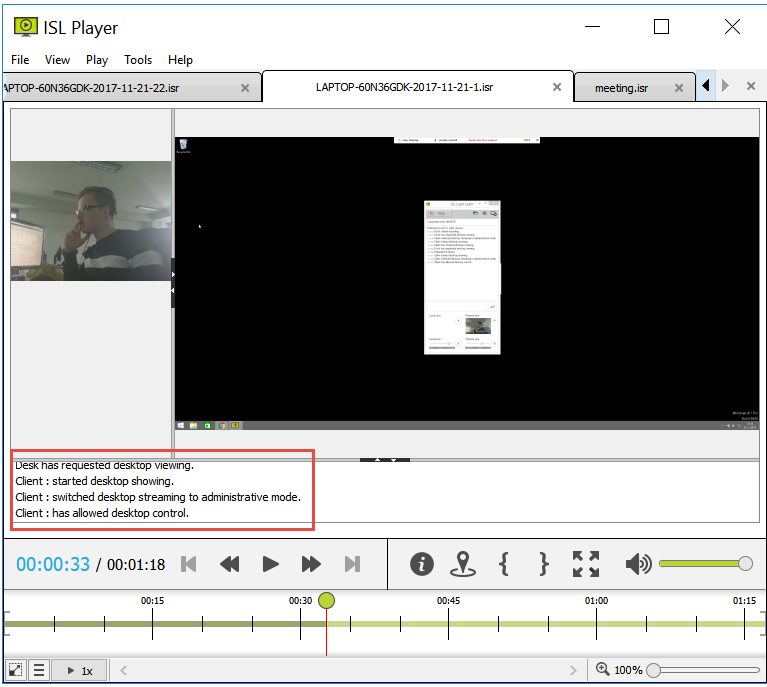
Desktop stream
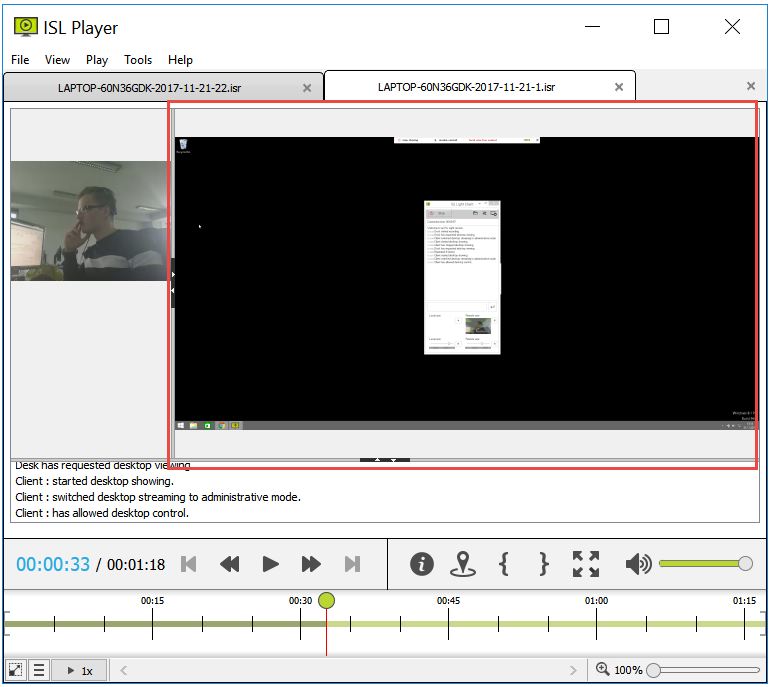
Shared desktop from ISL Light Session is displayed here. Alternatively, if you are viewing a recording of an ISL Groop meeting, the active slide is shown.
Podium stream
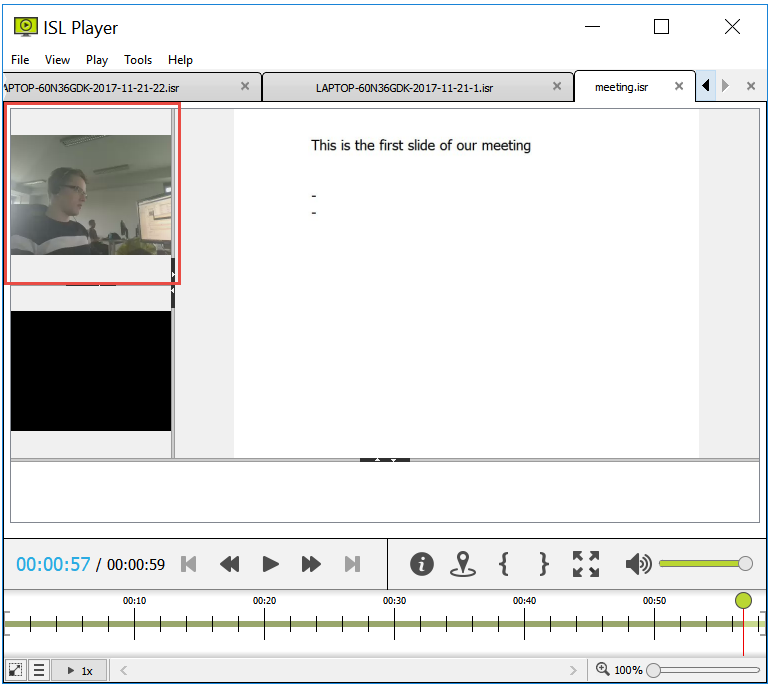
Podium stream is present only in recordings of ISL Groop meetings. It shows the webcam feed (if present) or the thumbnail of the participant currently holding the podium.
Video stream
Video stream shows webcam feeds (if present) during the session.
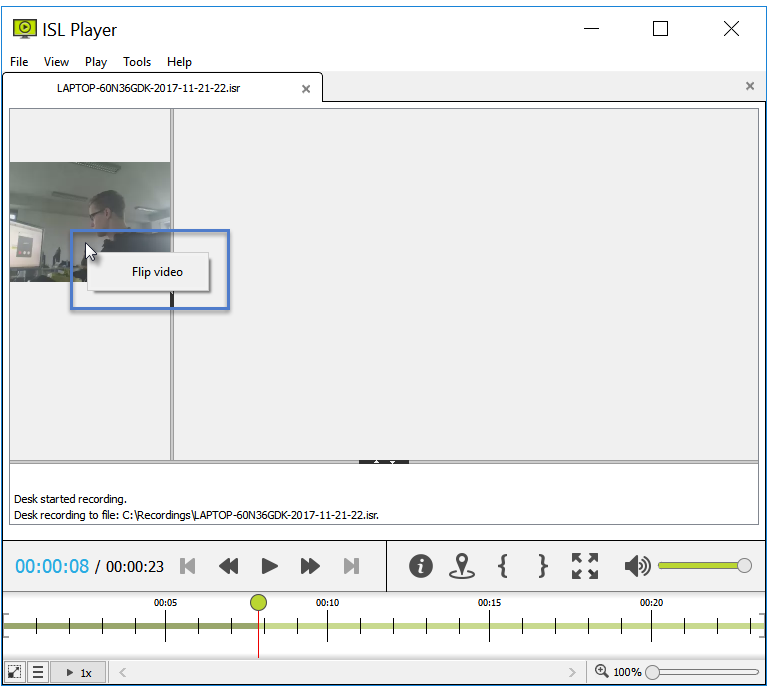
Note: Depending on the recording setup, a video feed might be oriented incorrectly inside the Video Stream. Right-click on the video and a “Flip Video” option appears, allowing you to orient it correctly.
Chat stream
Chat stream shows the communication and notifications going on in the chat during the session.
Toolbar
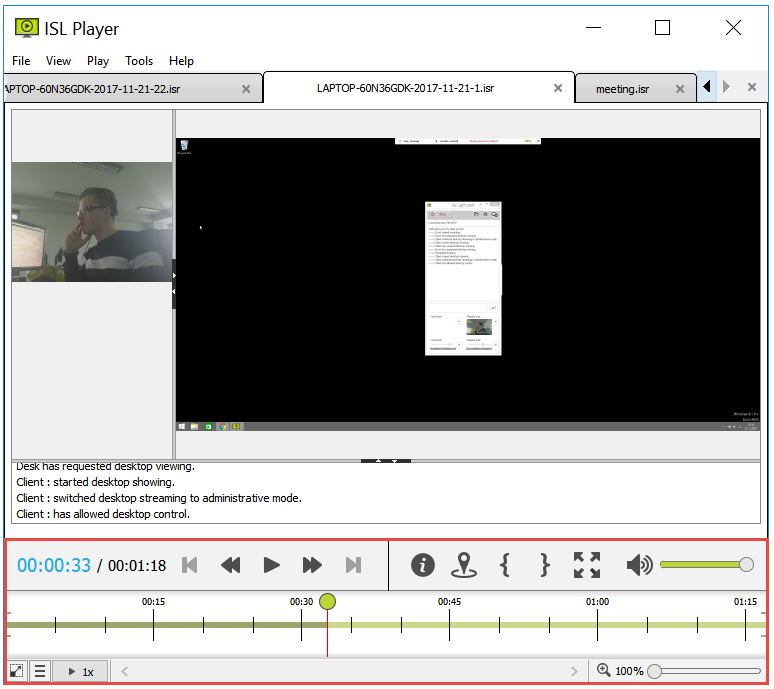
Toolbar contains the timeline of the video, general video and audio controls, together with the following options:
- Display additional information about the recording (size, which ISL product created the recording, participants in a meeting…). This option also allows you to add and view markers for this recording.
- Add marker with a comment at the current point in the recording.
- Insert in and out point at the current point in the recording. When exporting the recording, only the part between in and out point will be exported, giving you a quick way to crop the recording. Note: Newly placed in or out point will overwrite the previously placed one.
- Change ISL Player into full screen mode. Exit the full screen mode by pressing the “Esc” button.
Export Recording
Step 1

Click “Export…” to begin exporting the recording.
Step 2
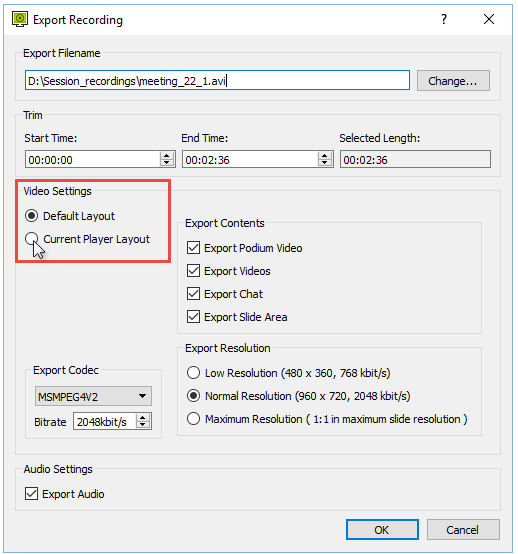
Select “Current Player Layout” to export the video using the layout you created. Click “OK” when you are satisfied and the export will begin.
Step 3
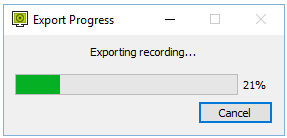
Wait for the export process to finish and .avi file will be created in the folder you chose.
Accessing the Log File
Windows

Access the log file for ISL Player under Tools menu.
Note: You can open the log file as soon as ISL Player starts, without having to import the recording first.
How to Install (Optional)
Step 1
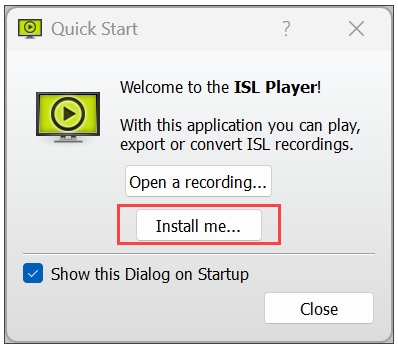
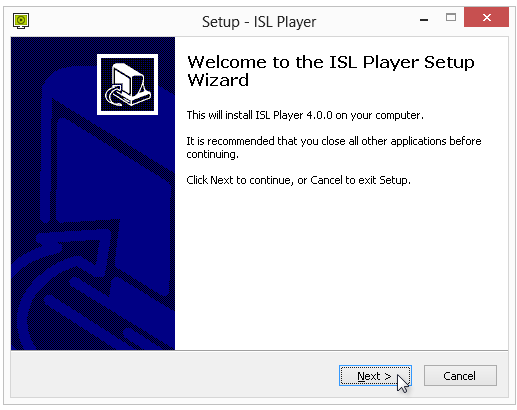
Run the downloaded .exe file and press “Install me…” when the program starts to begin installation.
Step 2
Uninstall
Step 1
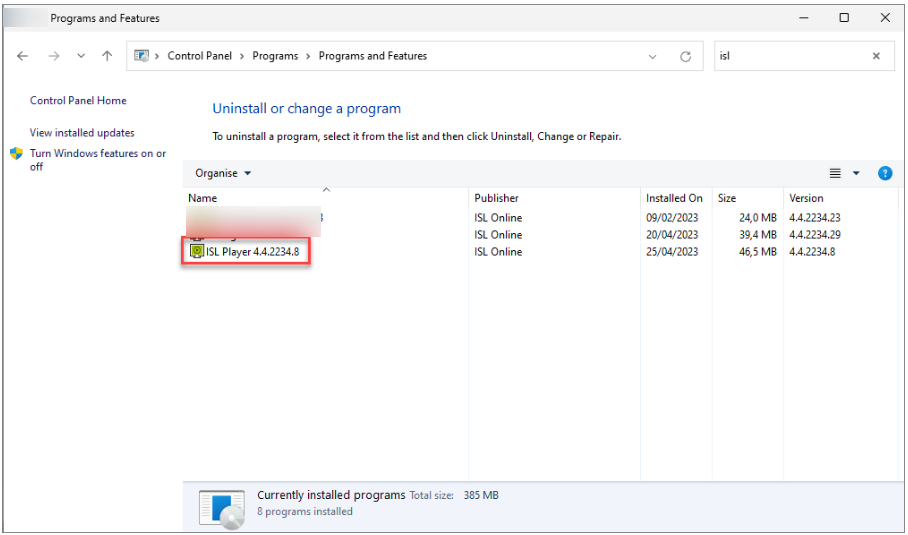
Open “Control Panel”, then open “Uninstall a program” under Programs. Find ISL Player in the list of programs.
Tip: If you have a lot of programs installed try searching for the keyword “isl” to narrow the search.
Step 2
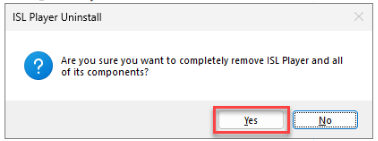
Double-click on ISL Player in the list of programs and click “Yes” when prompted for confirmation.
Step 3
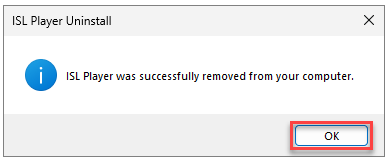
Click “Ok” to complete the uninstallation process.
